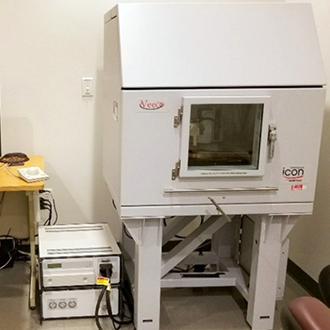
ATOMIC FORCE MICROSCOPY (AFM): Bruker Icon
- High-resolution imaging and measurement of surface height features at angstrom scales
- Quantitative measurement of sub-nanometer scale surface roughness
- Easy instrument operation with the use of Bruker ScanAsyst™ and PeakForce™ tapping modes
- Contact and tapping imaging modes
- Magnetic force microscopy
- Fluid cell imaging for biological samples
- Special deep trench probe for high aspect ratio surface features
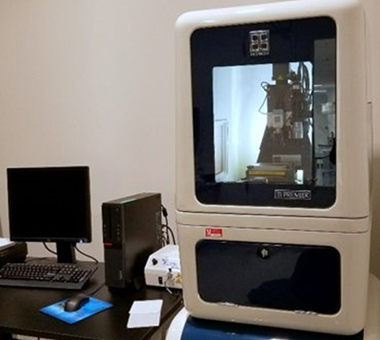
NANOINDENTER: Bruker Hysitron TI Premier
- Measurement of material hardness, Young’s modulus, fracture toughness and other mechanical properties
- Analysis of semiconductors, polymers, metals, thin films, and multiple layers
- Identication of topographical features
- Acquire additional information about the deformation in post-scanning, and measure quantitative RMS surface roughness
- Maximum applicable load ~100 μN
- Nanoscale mechanical and tribological behavior of materials at elevated temperatures up to 800°C
- Optional inert gas flow over sample to prevent material oxidation at elevated temperature
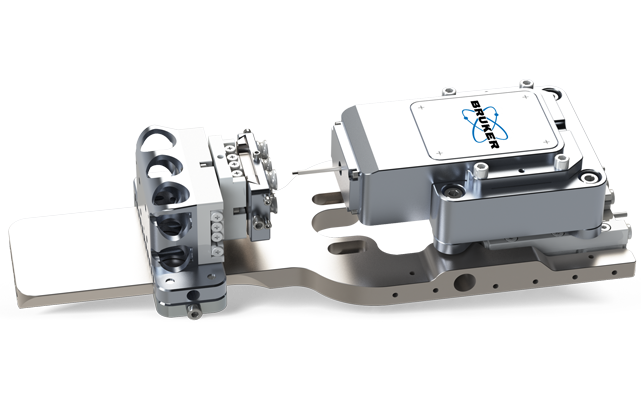
PICOINDENTER: Bruker Hysitron PI89 for FEI Quanta SEM
- Used for nanoindentation, tensile testing, pillar compression, cantilever bending, fracture, fatigue, dynamic testing, mechanical properties mapping
- Intrinsic displacement actuation and displacement control from <1nm to 150µm
- Load range from <1µN to 3.5N, and 78kHz
- 1 nm encoded linear stages provide greater repeatability during automated testing modes while increasing travel range
- The uniquely low-current design of the transducer minimizes thermal drift and provides unprecedented load and displacement sensitivity
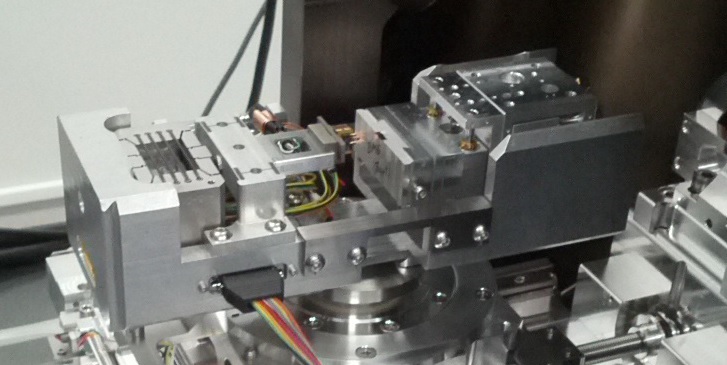
MTR-3-XR MICROTEST RIG SYSTEM: Micro Testing Solutions, LLC (MTSL)
- Used for mechanical, electrical and thermal testing on microscale, mesoscale and nano-sized specimens
- Experiment Modes: Tensile loading, compression, dynamic loading for fatigue testing
- The test frame can be used inside the Quanta SEM, Teneo SEM and the Zeiss Xradia 620 microCT
- Provides integrated control of deformation testing while doing imaging to allow simultaneous visualization of deformation behavior at the nanoscale level
- Actuator travel: 150 micron, resolution: 1 nm
- Load range +/- 2.5 N (250 g) with sensitivity <1 uN
- Stage navigation: X=16 mm, Y,Z = 8 mm, step size: 10 nm, speed: 3 mm/sec (max)
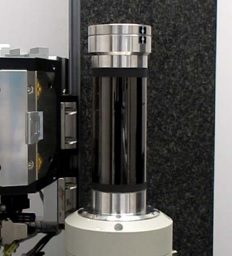
DEBEN CT5000 5kN TENSILE/COMPRESSION STAGE for Zeiss Xradia Versa 620 NanoCT
- Modular tensile & compression testing system used within the Zeiss Xradia µXCT system
- Maximum load reading resolution, 1000:1 dynamic, 2000:1 static (of full scale range)
- Simple specimen exchange mechanism with vitreous glassy carbon support tube, 3.0mm wall thickness (6.0mm in beam path)
- Maximum extension 10mm (stroke can be set depending on customer requirements, default is (10-20mm tensile), (15-5mm compression) with compression platens fitted
- Fixed loadcell with accuracy, 1% of full scale range up to 5kN
- 10mm linear extensometer for position readout, resolution 300nm, linearity 1% of full scale
- Fast gearbox with speed range 0.1mm/min to 1.0mm/min (Fast speed option available)
- Optical encoder fitted to motor giving speed control accuracy better than 5%
- heated jaws with temperature range from room temperature to +250°C
