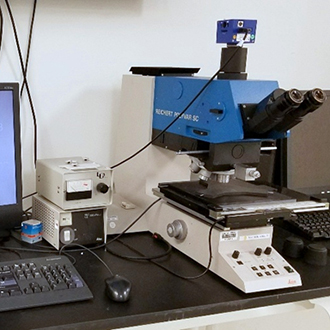
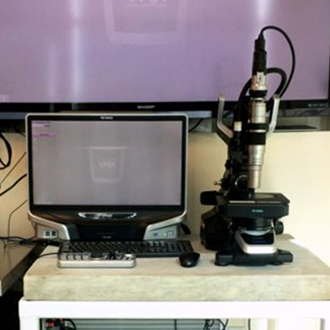
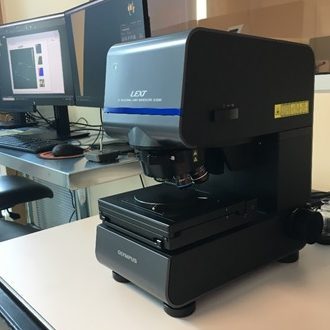
The Nanoimaging and Surface Analysis Lab houses two optical microscopes and one laser profilometer that can give quick low magnification images for preliminary device inspections at a high resolution, large depth of field images for publications.
KEYENCE VHX-5000
- Three dimensional measurement/profilometry and imaging down into deep DRIE etched structures
- Large depth of field and instant full-focus depth-composition give SEM-like color images
- Automated XY & Z stage, focus and image capture
- Tilted views with 3D model extraction, XYZ measurements and rotating viewing
- 54 megapixel CMOS camera with real-time, live imaging
- Video recording and timer interval image capture function
- 16 bit color with High-resolution HDR mode
- Large capture area and image stitching at high resolution
- Particle counting and analysis
- One click snap-to-image template measurement tools (length, area, radius, angle, etc)
- Template output and easy report generation of measurements and images
- External monitor driver for display on large classroom screens

REICHART POLYVAR MET
- Bright-field, Dark-field and Differential Interference Contrast
- Objective lenses: 2.5X, 10X, 20X, 50X, 100X and 150X
- Multiplier wheel lenses: 0.8X, 1.0X, 1.25X, and 2.5X
- 5 megapixel digital camera for saving images
OLYMPUS LEXT OLS5000
- Non-contact, 3D, surface metrology at~10 nm resolution (z)
- Wide range of objectives: 5x, 10x, 20x (SLWD),50x (LWD), 100x
- Surface roughness, surface area, line profile,film thickness, step height measurements
- Automated report generation feature
- True, quantitative 3D imaging
- High aspect ratio structure measurements:measure surface features at up to 87° with respect to the light source
- Two imaging modes: 3D image + true color optical microscope image

